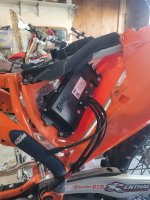
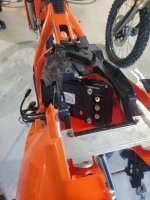
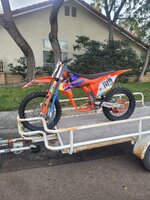
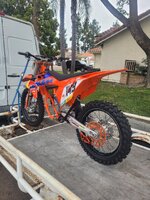
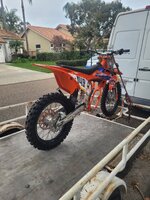
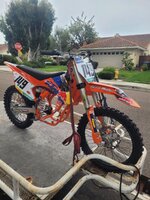
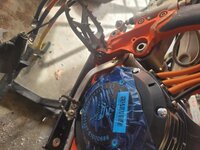
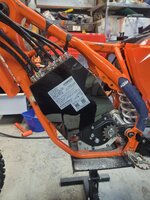
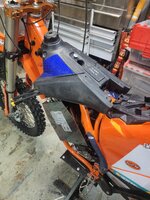
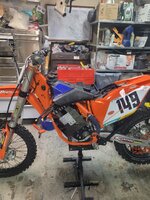
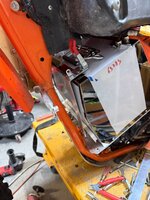
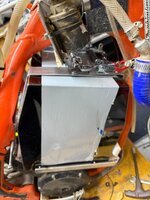
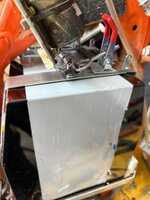
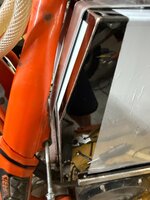
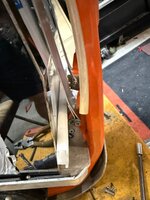
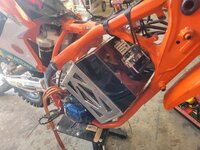
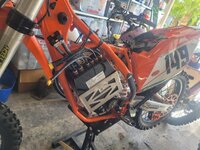
I just finished this build and I wanted to share the build, because I think this is one of the easiest frame/models to convert, with minimum modification. None to the frame , only plastics are modified. This is a 2019 KTM, but I believe the GasGas and Husky will be almost identical., 2018-2022, in particular, but 2014-2018 also. I find the 450 frame to be the best. ( the lower tubes are 1/2" wider, and this allows motor to rear sprocket alignment to be right on. the 250 and 150/125 are narrower, and require just a little bit more work.
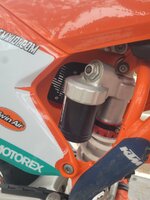
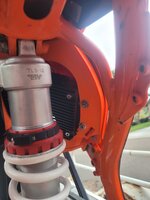
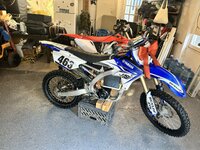
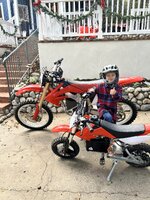
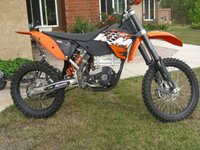
The first 2 pictures are the before and after. The finished bike is like the Stark EX , street legal with lights, and a 12V system, but with the advantage, a possibility of a quick change battery.
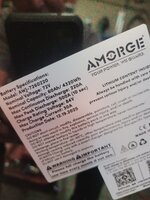
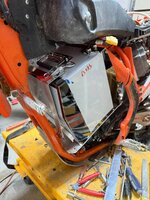
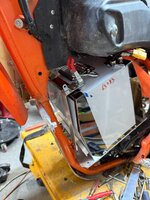
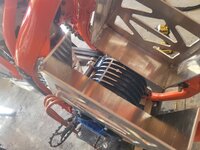
We found this bike pretty cheap(it was rough) and sold the motor and everything not needed for more than we paid for the bike. That purchased the battery for us. We had Amorge build us a 20S12P Molicel P42A cells, and an ANT smart BMS, with Open Discharge. They built the metal box and all. Just the shipping time is a little slow. There are now better cells that can be used and a good price.
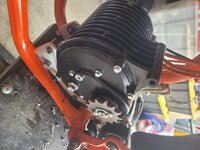
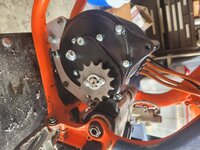
I will include pictures of the motor build here tonight, and I will expand into the rest of the key parts. There are a million ways to skin this project, This is the way I do it, and I have built or helped build over 20 bikes, and these methods work, and have proven very reliable.
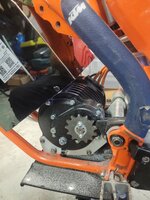
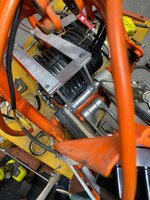
Lithium-King.com makes the motor mount. This is very important to be really solid, and certain steps must be followed to ensure that. This electric motor wants to turn the wheel and get itself out of this frame, so don't skimp on this part. The mount from Lithium-King.com is made for this frame/ bike and motor. Their universal mount should not be used with the slotted bolt and the system not welded in the rear. The torque is tremendous on this bike. I am not the best welder, but my welds work, I hope you can post better looking welds.
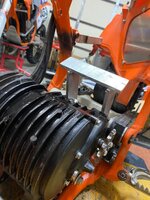
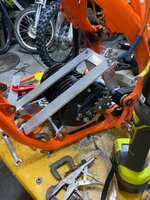
This is the motor mount from Lithium-King.com, it is made of 1/4" 6061 aluminum, and the upright legs in the back are the back battery tray mounts. We don't want the battery to touch the motor so as not to transfer heat from the motor to the battery. Each major component has Heat issues that need to be addressed. The motor makes a lot of heats and can usually withstand that in our use. The battery can overheat, and that is why we use an open Discharge system in the battery, and don't want the battery touching the motor. The smart BMS is used to charge the cell groups, and give us a visual of the battery condition. The Controller monitors for low Voltage condition, and slows us down at 65V and off at 59-60V. The discharge of the battery is straight out of the battery, with a 400A fuse at the controller. Some people have asked for 400A Fuse right at the output of battery before the Disconnect switch. This does make sense.
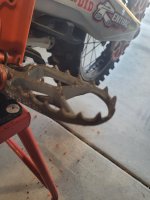
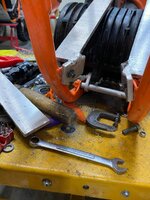
The mount, bolts across the main mount bolt at the bottom of the frame, with spacers to make it a solid mount point. (Using the stock KTM bolt there). On the swing arm bolt we use a 1" aluminum tube with a 17MM (correction) center ID fit to the whole width. You need to align the motor sprocket edge with the rear wheel sprocket edge, and the chain centers on the plastic guide pad on top of the swing arm.. Make sure the rear wheel is perfectly aligned in the swing arm. ( alignment spacer on each side are as accuarately equal as possible). I will stop here for today, more to follow and ask any questions. You notice in the pictures we do cut the top mount off of the motor for more battery space. I use a Sawsall with a long blade.
View attachment 13050
View attachment 13052
View attachment 13053
View attachment 13054
View attachment 13055
View attachment 13056
View attachment 13057
View attachment 13058
View attachment 13059
View attachment 13060
View attachment 13061
View attachment 13062
View attachment 13063
View attachment 13064
View attachment 13065
View attachment 13066
View attachment 13068
View attachment 13069DonCox congratulations on your Glen Helen podium! did an amazing job on your KTM build. You got me so excited to build my new KTM 250 SXF electric bike. Do I have your permission to copy your conversion design? Do you have a CAD file for the motor mounts you can share with me?
@DonCox -- Congratulations on you podium at Glen Helen this past weekend. It sounds like your KTM performed great. You're getting really good range from you set up.
Your KTM build is awesome. You're build narrative is so good. I'd love your blessing to copy your build. Do you have a CAD file for your KTM motor mounts.
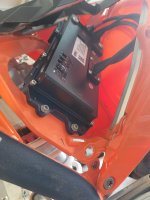
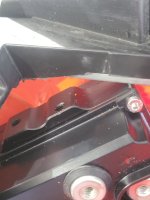
Thus far I've stripped the chassis down and trimmed the airbox to receive the EBMX X-9000 Controller. I can't beleave how easy it was to mount. Attached you will find photos showing the progress at this point.
