DonCox
Well-known member
- Likes
- 628
- Location
- Lake Havasu City, AZ
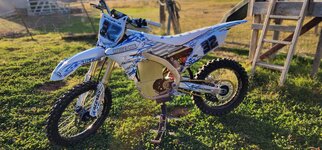
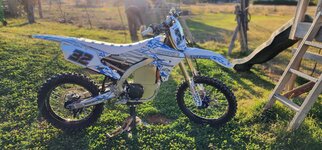
I was asked for information on this build so I thought I would share it with everyone. Let's start with the end Product, a picture (IMG2785) and a video of it at the track yesterday.
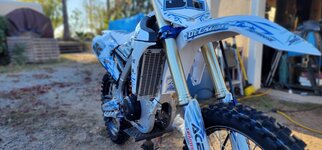
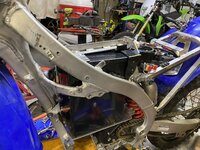
I started with a 2014 YZ450F donor bike (IMG2571). This bike had been modified as another electric motor bike so I removed all the new lower tabs to start fresh. You can make non welded in mounts to do this also, but I elected to do the weld in method. I am only showing the main pictures here, but I have a ton of images of the build.
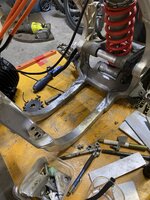
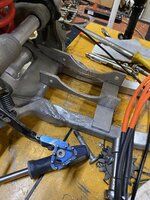
I use 6061 Aluminum 1/4" x 1 1/2" across the down tubes, and for all the motor mounts, and the battery supports.
I built the mount for the swing arm bolt, ( i will explain that in Part #2) that would be going down to the main frame center, and up to support the back of the battery tray. This battery tray could be built with a quick change battery system if wanted. XEMX1.com will be selling a kit very soon. Ask and I can get you more info .
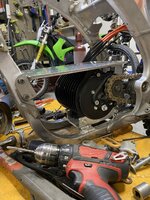
I mounted the motor, and alignment with the rear sprocket is very important, and hard to get an alignment point. I find a straight edge to come from the rear sprocket is good. ( make sure the rear wheel is true in alignment on the swing arm) and to wear marks on the chain guard on the swing arm. You want also to position the sprocket center to as close to level with the swing arm bolt and as close to the swingarm to allow bigger sprockets to fit. I am using a 520 13T sprocket, and it barely fits on the motor, to were it will hit the nub on the motor, and it already has..., (I have to move it out by 2 washer/spacers, since it is touching/wearing) The motor and it's brackets kind of limit how close you can get to move it back and down, so do your best. You are splitting hairs, if you are close it is good, just make sure the sprockets is true to the rear sprocket.
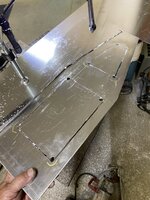
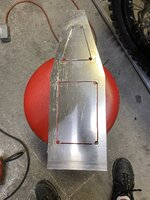
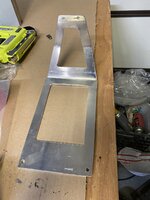
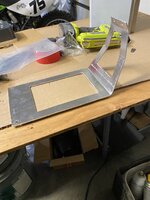
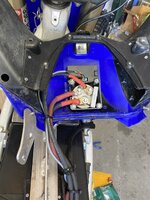
Next is the Controller mount. You will see a special bracket that mounts to take the weight of seat and mount the controller. I can make you these if anyone wants them. You spread the sub frame outward 1/4" on each side. Very easy. You can see it in IMG1604. Then I make a tray out of 1/8' soft aluminum, so I can bend it to what I want, and open the middle up for a future water cooler if you want to go to 450A ( the controller does heat up at the higher currents). I can supply these brackets and coolers too if you need them.
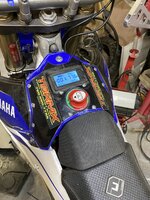
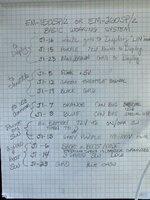
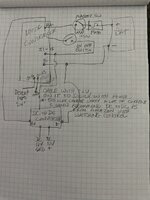
At this point , Motor mounted, and Controller mounted, I plugged the built wiring Harness from Electroandcompany.com onto the bike with the throttle and switches also included. Added a 72V battery, that I had, and it ran.
Here is a short YouTube
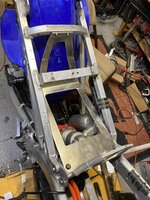
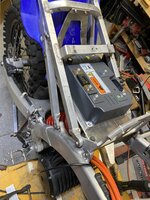
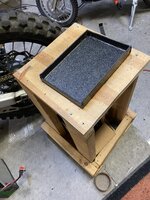
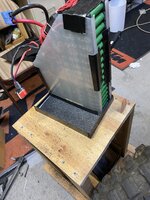
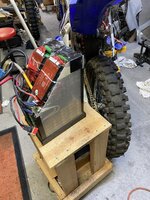
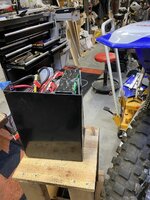
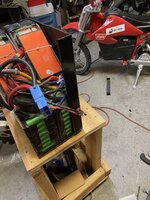
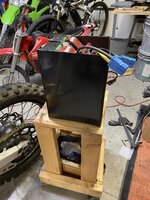
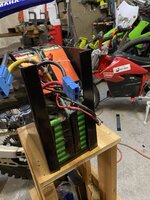
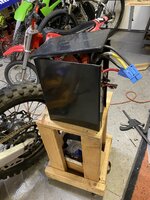
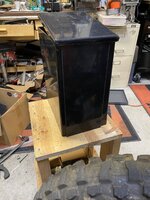
Now we are going to make the battery tray. The battery is the battery I am going to use, but this was just a temporary box for road tests. The mounts were the same. First off I cut off or mill off , remove the upper mount on the motor. We need the battery space. We have 3 solid mounts on the lower part of the motor, and I want the battery separated from the heat of the motor, so no direct connection with the top of the motor. I used a Sawsall to remove it , draw or mark lines to keep it straight, , but you want to keep a few of the fins for cooling. ( I also opened up the webbing between the fins where the mount was. IMG2621) Then I made mounts that bolted to the main mounts on the down tube in the front, and mounted to the rear like the pictures show. (IMG2622 thru IMG2627)
I am going to stop here , and I will continue in another session. I am limited to 20 Images.
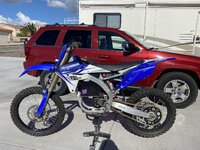
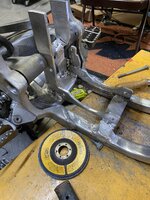
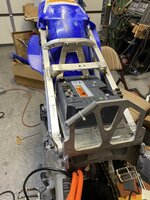
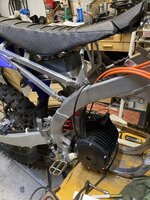
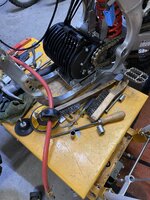
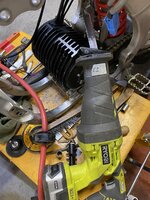
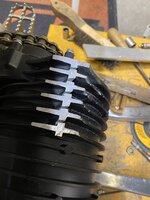
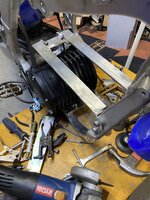
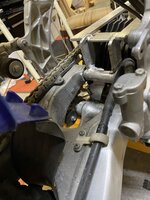
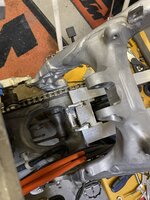
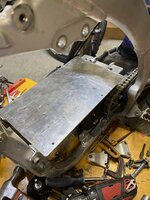
I started with a 2014 YZ450F donor bike (IMG2571). This bike had been modified as another electric motor bike so I removed all the new lower tabs to start fresh. You can make non welded in mounts to do this also, but I elected to do the weld in method. I am only showing the main pictures here, but I have a ton of images of the build.
I use 6061 Aluminum 1/4" x 1 1/2" across the down tubes, and for all the motor mounts, and the battery supports.
I built the mount for the swing arm bolt, ( i will explain that in Part #2) that would be going down to the main frame center, and up to support the back of the battery tray. This battery tray could be built with a quick change battery system if wanted. XEMX1.com will be selling a kit very soon. Ask and I can get you more info .
I mounted the motor, and alignment with the rear sprocket is very important, and hard to get an alignment point. I find a straight edge to come from the rear sprocket is good. ( make sure the rear wheel is true in alignment on the swing arm) and to wear marks on the chain guard on the swing arm. You want also to position the sprocket center to as close to level with the swing arm bolt and as close to the swingarm to allow bigger sprockets to fit. I am using a 520 13T sprocket, and it barely fits on the motor, to were it will hit the nub on the motor, and it already has..., (I have to move it out by 2 washer/spacers, since it is touching/wearing) The motor and it's brackets kind of limit how close you can get to move it back and down, so do your best. You are splitting hairs, if you are close it is good, just make sure the sprockets is true to the rear sprocket.
Next is the Controller mount. You will see a special bracket that mounts to take the weight of seat and mount the controller. I can make you these if anyone wants them. You spread the sub frame outward 1/4" on each side. Very easy. You can see it in IMG1604. Then I make a tray out of 1/8' soft aluminum, so I can bend it to what I want, and open the middle up for a future water cooler if you want to go to 450A ( the controller does heat up at the higher currents). I can supply these brackets and coolers too if you need them.
At this point , Motor mounted, and Controller mounted, I plugged the built wiring Harness from Electroandcompany.com onto the bike with the throttle and switches also included. Added a 72V battery, that I had, and it ran.
Here is a short YouTube
I am going to stop here , and I will continue in another session. I am limited to 20 Images.


![IMG_3009[1].JPG IMG_3009[1].JPG](https://electricdirtriders.com/data/attachments/9/9286-4748e82da801bf4d3c829ce20cb6529b.jpg?hash=R0joLagBv0)
